
Set up conversion tracking
Tell ClickFortify which on-site events count as conversions so reports tie clicks to outcomes and audience-based exclusion works correctly.
Conversion tracking is the second piece of the pixel story. The main tracker (installed in onboarding step 5) sees every visit; the conversion layer marks which visits became wins — a sale, a lead form submission, an account signup. Without it, every click looks the same to ClickFortify and audience-based exclusion can't tell good visitors from bad.
Prefer to watch?
This tutorial shows the whole setup in about a minute — creating a Zero-Code Conversion Rule, naming it, choosing a rule type and URL match, adding an optional conversion value, and using the developer snippet for custom events. The setup walkthrough starts at 1:10.
Two ways to set it up
ClickFortify gives you a choice based on whether you want to write any code.
Zero-Code Rules
Pick page URLs or events from the dashboard. No code on your site. Recommended for most teams.
Code snippet
Add a small <script> to your conversion pages (and optionally call CF.conversion(...) for custom events). Pick this if you need labels, revenue values, or fine-grained control.
Open Conversion Setup from the sidebar to start either path.
Zero-Code Rules
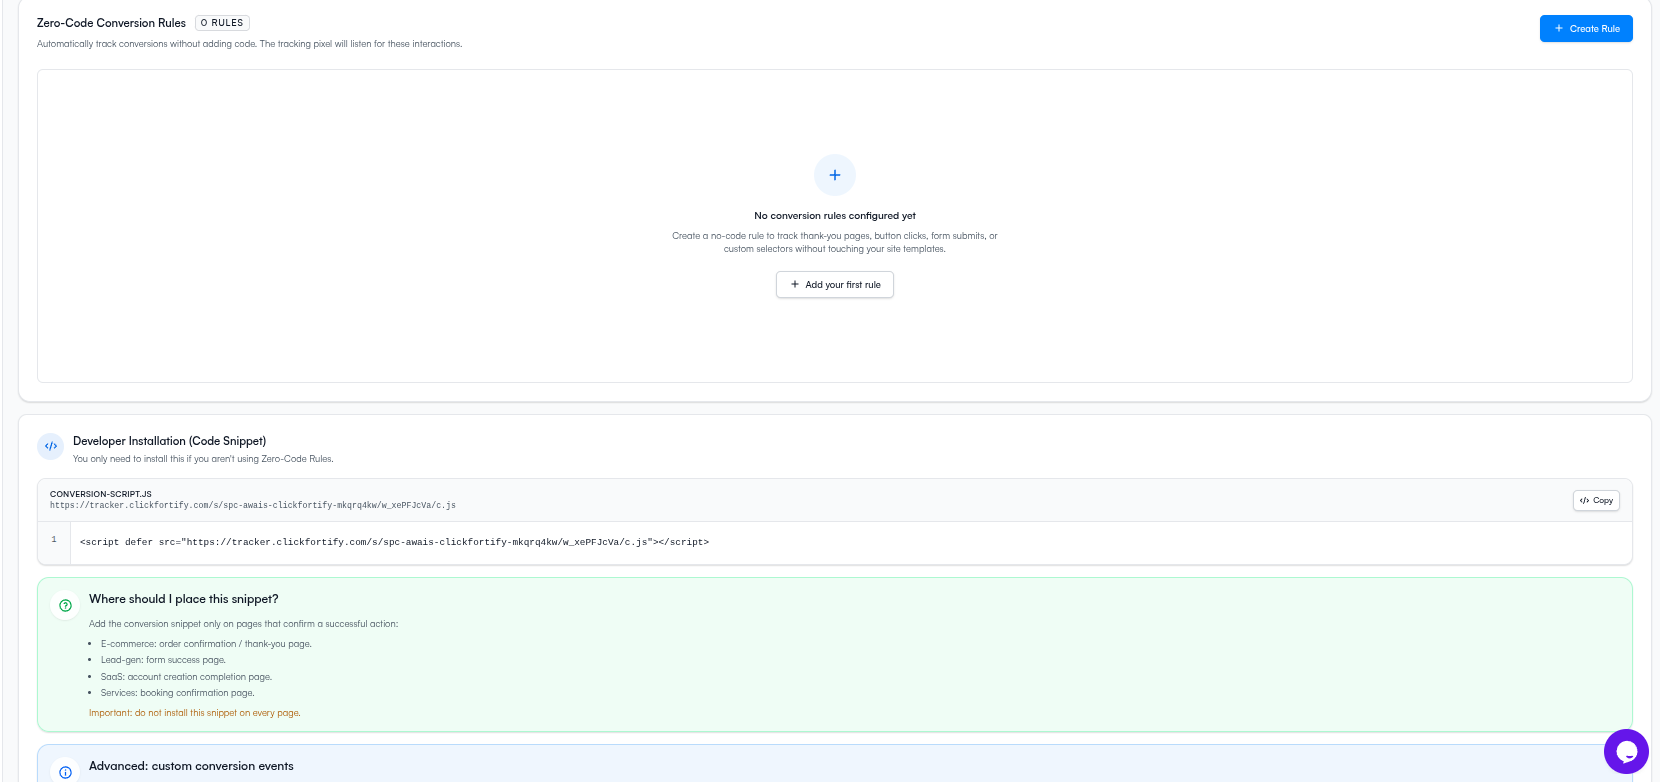
You can have multiple rules. ClickFortify counts a conversion when any rule matches, so you don't need to pick one — add a rule for each kind of conversion you want to track.
Code snippet (developer install)
If your conversions don't fit URL or event matching, install the conversion script on your success pages and (optionally) call the custom-event API.
Putting the conversion snippet on every page tells ClickFortify every visit was a conversion — your stats become meaningless. Only on success pages.
Custom conversion events (advanced)
Once either the main tracker or the conversion snippet is loaded, CF.conversion(...) is callable. Use it when you need a label or value:
The first arg is the conversion label (free-form string). The second is an optional revenue value — pass it on purchases for ROAS reporting and quality analysis.