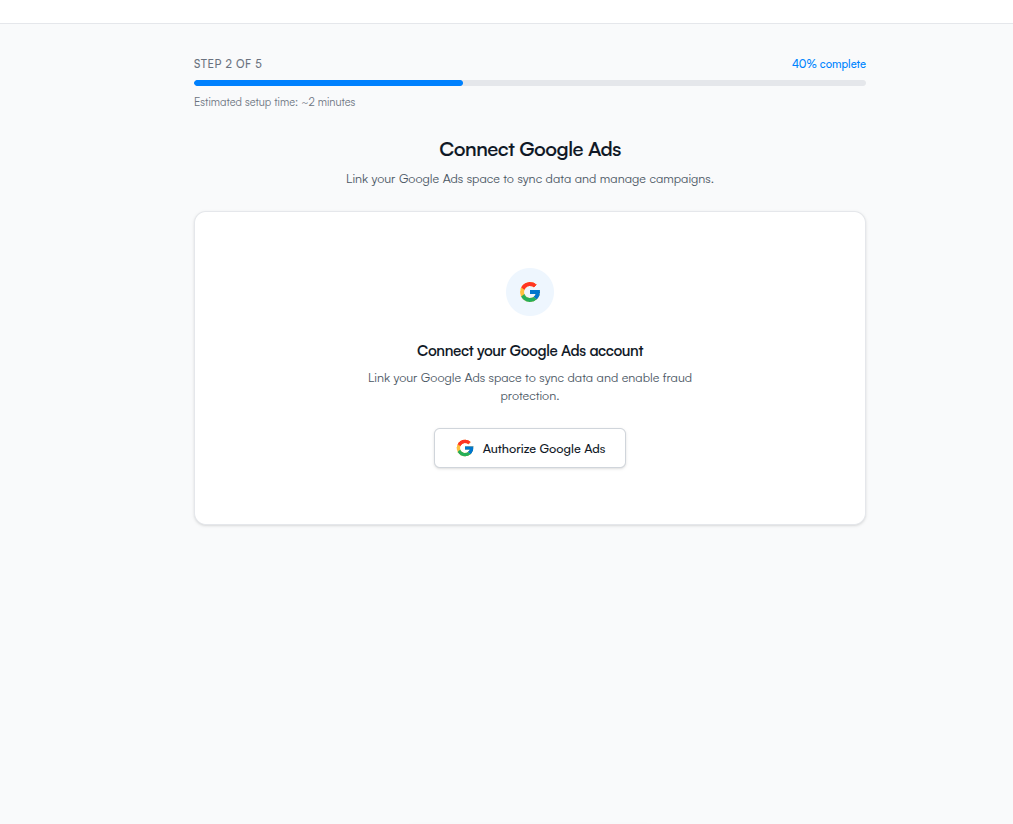
Connect Google Ads
Step 2 of the wizard — authorize ClickFortify to read your Google Ads data.
In step 2 you authorize ClickFortify to read your Google Ads account. This step does one thing only — picking which account to protect happens on the next page.
What you'll see
The screen shows a single Authorize Google Ads button. Below it: "Link your Google Ads space to sync data and enable fraud protection."
Authorize Google Ads
Click Authorize Google Ads.
A Google sign-in tab opens. Sign in with the Google account that has access to your ad account.
Review the permissions and click Allow.
The popup closes automatically. The wizard advances to step 3 once authorization succeeds.
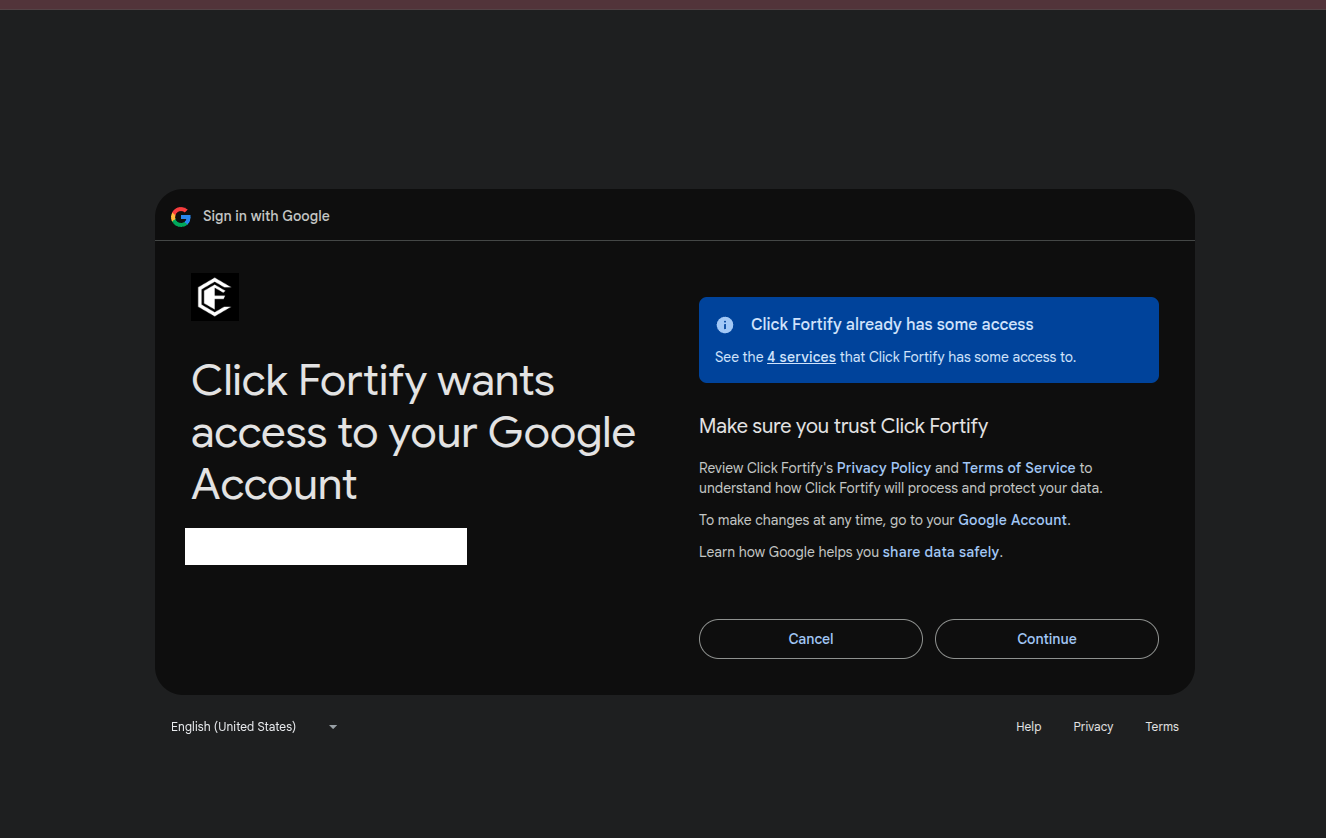
Permissions ClickFortify asks for and why
- Google Ads (
adwords) — read your ad campaigns, click data, and (optionally) push exclusions back to your account. - Email and profile (
userinfo.email,userinfo.profile) — confirm which Google account you signed in with so ClickFortify can show it in your settings.
If the popup is blocked
Most browsers block popups by default. If nothing happens when you click Authorize Google Ads:
- Look for a popup-blocked icon in your browser's address bar and allow popups for
app.clickfortify.com. - Then click Authorize Google Ads again.
- If it still doesn't open, click Cancel under the "Waiting for authorization…" state to reset, then retry.